
It doesn’t take a lot to iron patches onto clothes. Yet there are cases, though, when iron-ons don’t turn out the way you wanted them to, or they fail to stay in place. Here is a step-by-step guide on how to make sure your patches remain in place.
You Will Need:
– Transfers or Iron-On Patches
– Ironing Board
– Iron
– Clothing that you would like to apply the patches to
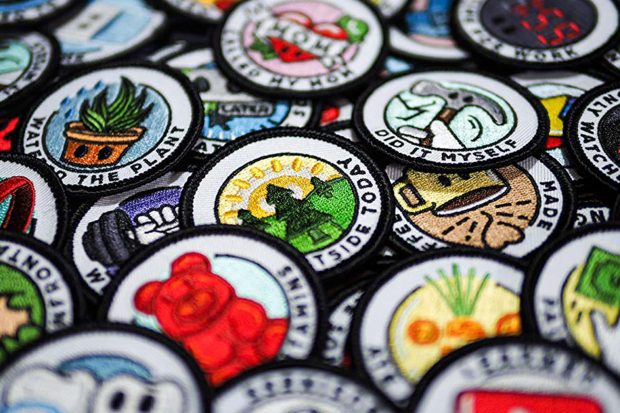
Today there are many options to shop iron on patches to choose from. Therefore, embroidery patches are becoming popular now. You can find a variety of designs and lear more on making custom embroidery patches. Let’s not forget we are here for more information on which materials and patches work best.
If you have shopped for patches from a store that state that they are iron-on, you are well on your way to a simple and easy project. These patches usually require the “cotton” steam setting on your iron, since these patches are usually thick. If you don’t have any yet, pick up some custom patches in Los Angeles geared to what you want!
The printable transfers will take a bit more skill. The transfer requires a certain amount of heat to start melting the adhesive onto the material or clothing you are working with. If you apply too much or too little heat, the transfer won’t stick. To test out a transfer, cut a 1/2″ x 1/2″ square out from the printed paper, followed by ironing your test patch onto an unnoticeable area. You can use the inside bottom hem on a pair of pants or a shirt.
It is also possible to make patches from fusible web and cotton fabric. Fusible web is similar to thin sheets of adhesive or glue that will melt when they come into contact with an iron. You can use any of the quilting-grade fabrics, which are mainly made from cotton. There are tons of interesting patterned fabrics and styles to choose from.
What Should You Iron Your Patches Onto?
Denim works best, along with most of the cotton fabrics. If you have chosen a fabric that contains plastic, the fabric may melt or burn when you use an iron. Make sure that you always test a small section of the clothing with your iron before applying patches.
Patch Design And Placement
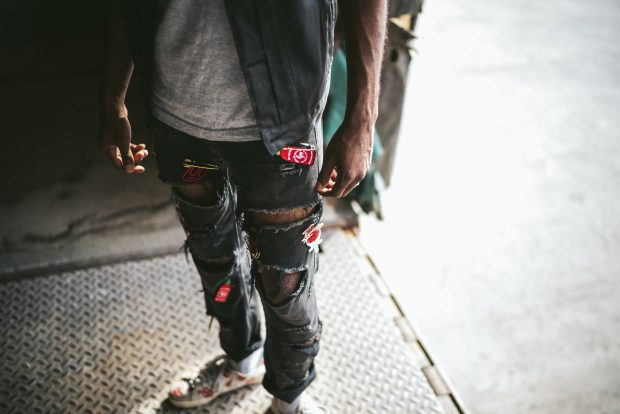
You may have already decided where you would like to position your patch, but it is still a good idea to take a couple of minutes to experiment with a few different placements. For example, if you add one or more patches to a pair of your favorite jeans to cover areas of wear, use a safety pin to attach the patches to different areas. Now try your jeans on and look in the mirror to find the best placement. Experimenting with patches will also give you a few new ideas when it comes to future projects. Once you are happy with the placement, you can start ironing.
How To Iron On Patches
To save time, plug your iron in while you are deciding on where to position your patches. If you forgot, plug the iron in and allow the iron to reach the correct temperature. Do not add any water into the iron and set the iron onto the high “cotton” setting.
Now lay your garment across your ironing board, making sure that the patch or the patches are in the correct place one final time. Lay a sheet of thin paper or a towel gently over your patch. The paper or the towel will protect your garment and the patch from the heat of the iron. In some cases, your iron might have a residue or dirt on the plate. At the same time, certain fabrics or patches might be heat-sensitive. This means they might burn or melt when coming into direct contact with your iron.
Your patch should be pressed for 10 to 15 seconds (refer to the instructions for store-bought patches). Fusible webbing or printable transfers usually vary. In these cases, refer to the manufacturer’s website or the instructions that came with the patch.
After pressing the patch, allow it to cool down, and then only pick gently from the edges. If the patch peels up, it may need a little bit more time. Make sure you do not over-iron the patch.
Iron-on patches are fantastic for an easy and fast application. All that you will need is a cloth/towel and an iron. An ironed on patch will typically stay in place for around 25 washes. This is usually enough for a bag or a jacket. If you are looking for a more permanent application, it is best to sew on your patches.
For any synthetic, nylon, or fiber material or where the texture won’t support an iron-on, gluing the patch on becomes the next necessary step to ensure your patches remain in place. This also applies to waxed canvas such as Barbour, Filson and Belstaff. The heat emitted from an iron can damage these materials.
Read More:
Embroidery and it’s types
Use screen printing for vivid colour prints
Top t-shirt trends for men in 2020
Custom tshirts and hoodie design trends
